Hairspray Boxes Design Ideas: Colors, Finishes and Layout Tips
Most people judge a product by its packaging before they know anything else about it. That makes the design of your hairspray boxes a commercial decision as much as a creative one. A good design helps the right customer notice the product, understand it and trust it. This guide covers how to plan that design: who it is for, how to use color and type, what to put on each panel, which finishes are worth paying for and how to prepare artwork for print.
Start with the customer and the message
Start with the customer, not the artwork. Write down who buys the product, where they see it and what they need to know to choose it. A shopper in a store compares your pack with the ones next to it from several feet away. An online buyer sees a small photo first and the real pack only when it arrives. A gift buyer cares about how it looks when it is handed over. Each situation asks for something different. Next, list what must appear on the pack: brand, product name, variant, size or quantity and any text required by law. Then rank it. The front panel should carry only the top two or three items. For hairspray boxes, skincare, makeup and haircare brands often try to fit too much on the front, and the result is a panel where nothing stands out.
Color
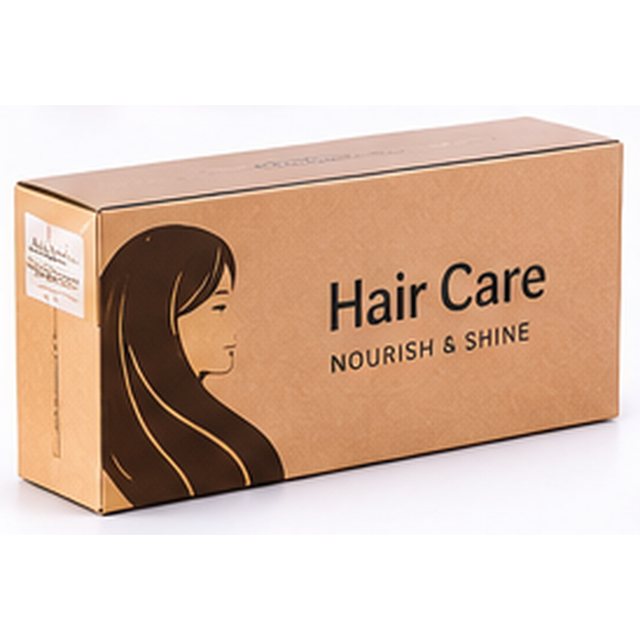
Color is the first thing people register, well before they read a word. Choose one main color that belongs to your brand and use it consistently, then add one or two supporting colors. If you sell several variants, a color-coding system helps customers find the one they want: keep the layout the same and change one color for each scent, flavor, strength or shade. Look at competing products and note which colors dominate; choosing something different is often the simplest way to be noticed. Bear in mind that color on screen and color in print are not the same. Screens use RGB light, printing uses CMYK ink, and some bright greens, oranges and blues cannot be reproduced exactly in CMYK. If a color is critical, specify a Pantone spot ink and ask for a printed proof. The material matters as well: the same ink looks cleaner and brighter on white coated stock than on brown kraft.
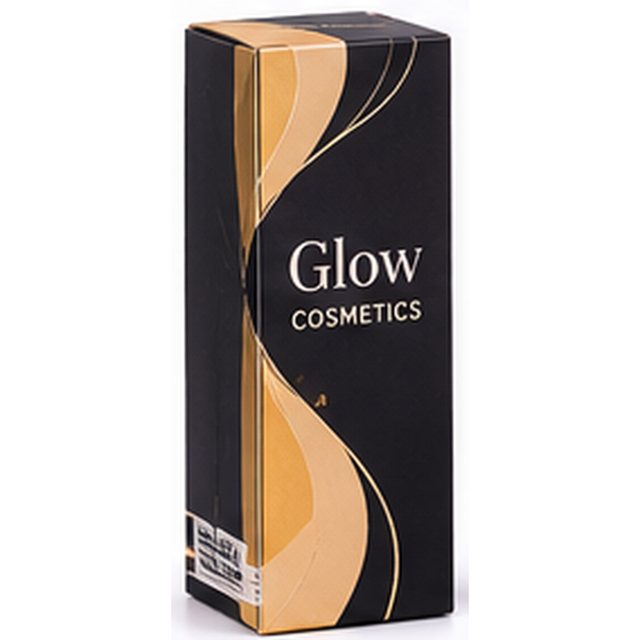
Beauty shoppers read a carton in a second or two. Soft neutrals, blush tones and deep blacks with a single metallic detail are common for skincare and fragrance, while color cosmetics often show the shade on the outside so the customer does not have to open the box.
Typography
Type does most of the communicating, so keep it readable. Use one or two typefaces at most, one for the name and headings and one for supporting text. Make the product name large enough to read at arm’s length. Keep body text at 6pt or larger, and avoid thin, light-colored type on dark backgrounds below about 7pt, because fine strokes can fill in when printed. Reversed white text on a rich black or dark solid should use a slightly heavier weight. Leave space around the logo and the product name and do not let them touch folds, edges or seals. Hierarchy matters more than font choice: a customer should be able to tell in one glance what the brand is, what the product is and which variant they are holding.
What goes where
Treat each panel as having its own job. The front sells: brand, product name and one key message. The back explains: a short description, directions and ingredients or specifications. The sides carry supporting details such as a barcode, contact information and icons. The top is worth designing if boxes are stacked or stored in a drawer, since it may be the only face visible. Check how the box will be displayed before you fix the layout, because a carton that stands upright and one that lies flat need different front panels. Keep important elements at least 1/8 in from every fold and cut line.
Finishes
Finishes change how packaging feels and how it catches light. Gloss lamination brightens color and suits bold, energetic brands. Matte lamination looks calm and modern. Soft-touch lamination has a velvety feel that people tend to connect with premium products. On top of these you can add accents. Foil stamping lays down metallic gold, silver, copper or holographic film and works best on logos and short text. Embossing raises an area and debossing presses it in, which adds a detail customers can feel. Spot UV puts a glossy coating on chosen areas of a matte surface. Every finish adds cost and production time, so pick the one that supports your brand and put it where it will be noticed, normally on the logo or the product name. Using three finishes on a single panel rarely looks better than using one well.
Structure and material as design
Structure is part of the design. The way a box opens shapes the customer’s first impression: a tuck-end carton is quick and familiar, a sleeve that slides off a tray builds a little anticipation, and a two-piece or magnetic box feels like a gift. Windows let the product show its own color and texture. Inserts present the product at the right height and angle when the lid comes off. Printing inside the box, even a single color or a short message, is an inexpensive way to make opening it more memorable. Choose the structure before the artwork is designed, because it sets the number and proportion of the panels.
Designing with less waste
Many customers now pay attention to how much packaging a product uses and whether it can be recycled. Sensible design choices help. Size the pack closely to the product. Use a single material where possible, since paper-only and single-film packs are easier to recycle than mixed ones. Consider water-based coatings in place of plastic lamination, and recycled or FSC-certified board. If you make an environmental claim on the pack, make sure it is accurate and specific, such as stating the recycled content, and check the wording against current guidance for green claims in your market.
Preparing artwork for print
Good artwork files prevent most print problems. Work on the dieline supplied for your exact size, and keep it on a separate layer. Set the document to CMYK and place any Pantone colors as spot swatches. Extend backgrounds 0.125 in past the cut line as bleed, and keep text and logos 0.125 in inside it. Use vector artwork for logos, text and line art, and images at 300 dpi at final size. Convert fonts to outlines, embed linked images and mark foil, emboss and spot UV areas on their own named layers in a solid spot color. Check barcodes at full size with enough white space on both sides. Finally, proofread everything, then ask someone else to proofread it again. Spelling errors and wrong barcodes are the most common reasons for a reprint.
Test the design at full size
Test the design before you commit to a full run. Print the artwork at actual size, wrap it around a blank sample or a block of the same dimensions, and look at it from six feet away and then in your hand. Put it beside two or three competing products and photograph the group; a phone photo shows quickly whether your pack stands out or disappears. Ask a few people who do not know the product to tell you what it is and who it is for after a three-second look. If they hesitate, simplify the front panel. Small changes made at this stage cost nothing, while the same changes after printing mean a second run.
Design mistakes to avoid
- Too much on the front panel. Choose two or three things and move the rest.
- Low contrast. Pale text on a pale background, or dark on dark, cannot be read on a shelf.
- Text too close to edges and folds. Cutting and folding shift slightly; leave a margin.
- Designing in RGB. Colors will change when converted for print.
- Low-resolution images. They look acceptable on screen and soft in print.
- Ignoring the unprinted material color. Kraft, clear and metallic materials change how inks appear.
- No room for required information. Plan for ingredients, warnings, barcodes and date codes from the start.
Frequently asked questions
What should go on the front of hairspray boxes?
The brand, the product name and one key piece of information such as the variant, benefit or size. Everything else belongs on the back or sides.
What file should I send for printing?
A print-ready PDF with outlined fonts, 300 dpi images, CMYK or Pantone colors and 0.125 in bleed, built on the dieline for your size.
Which finish looks most premium?
Soft-touch or matte lamination with a single foil or embossed detail on the logo is the combination most often used for premium packaging.
Can I print on the inside as well?
Yes, inside printing is available on most structures. A single color or a short message inside is an affordable way to improve the opening experience.
How many colors should I use?
One main brand color and one or two supporting colors are enough for most designs. Fewer colors used consistently are easier to recognise.
Summary
Strong packaging design comes from clear decisions made in the right order: know the customer, rank the information, choose a small set of colors and typefaces, give each panel a job, pick one finish that suits the brand and prepare the files properly. Apply that to your hairspray boxes and the result will look considered and print cleanly. When your artwork is ready, or if you would like a dieline to start from, contact Packlogic with your size and quantity.